


Step:4-Select your prefered Language from Below Screen. I prefer English is good for all so i have selected English Language for Tutorial Purpose.

Step:5-Select Keyboard Layout.

Step:6-In Following Screen you will able to see 4 Installation Methods, Let me explain Methods here:-
- Local CD/DVD – It is obvious that If you use CD/DVD media then Choose this option.
- Hard Drive – Select this if you have dumped your source into any other Linux partition.
- NFS Directory – Select this If you have shared installation source shared using NFS.
- URL – Select this if you want to install using FTP or HTTP Source link.

Step:7-If you are not sure about your media then Select OK to verify else Select Skip.
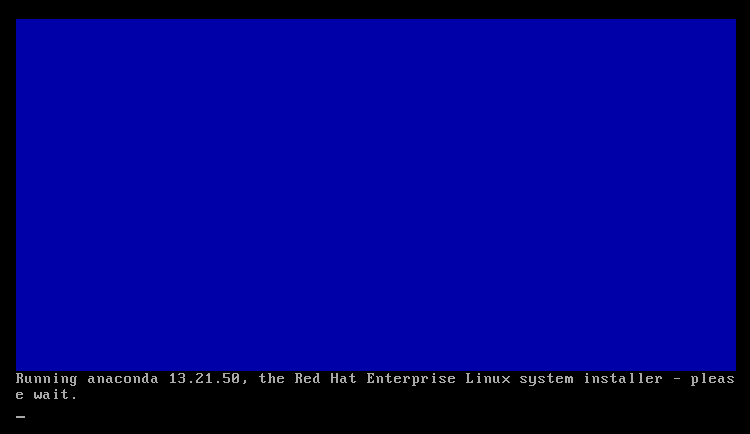
Installation Screen of RHEL 6 Installation. please wait for few minutes
after getting following screen

Step:9-Following is the first screen after Getting GUI Installation Wizard Click on NEXT to Continue…

Step:10-Because we are installating Beta Release of Red Hat Enterprise
Linux you will get warning of pre-release version. Have a look at
following screen….

Step:11-Now, For installating RHEL there is two storage options are available Let me explain bit…..
- Basic Storage Devices – Select this if you are installating on Local Hard disk or some local Storage
- Specialized Storage Devices - Select this if you are installing on SAN ( Storage Area Network ) or DASD ( Direct Access Storage Devices)

Step:12-Don’t worry if you don’t get following step, because if your Hard disk is blank then only you will get following screen.


Step:15-Now It’s time to Select Time Zone.

Step:16-Now Set your root Password.
Step:17-Make sure your password is not combination of
dictionary words other wise you’ll get screen as below.

Step:18-Now We reach to the most Important part of any Linux Installation, Its Partition time guys…………Not explaining any option because it is already nicely explained there on screen itself. I prefer Create Custom Layout because i can show you guys how to make partition during installation. If you have windows already installed then please select this option……………………Select Create Custom Layout and click on NEXT.

Step:19-I have got blank Hard Disk, So If you have also got Blank Hard Disk then you will get screen like below :-

Step:20-Here we’ll create only Three Most required Partitions….. You can create as per your requirement. SoNow Let’s start creating Partitions……..
Step:21-Let’s create boot partition first. Click on Create -> Select Standard Partition, Enter /boot as Mount Point, Enter Size 500MB, and Keep all information as it is, Click on OK.


Step:22-Now Let’s create swap partition Click on Create -> Select Standard Partition, Select Swap as File system Type, Enter size 2000 ( I suggest it should be double than RAM) and Keep all information as it is, Click on OK.

Step:23-Let’s create root partition. Click on Create -> Select Standard Partition, Enter / as Mount Point, Select Fill to maximum allowable size and Keep all information as it is, Click on OK.
Step:24-Now If everything is perfectly fine then you will able to see following screen

Here if you are not sure then reboot your system without clicking on
any thing. If you are sure that you want to continue then click on Write Changes to disk.


Step:27-Different Kinds of Software packages are availabe so Select as per your requirement and click on NEXT.

Step:28-If you plan to do customize installation then click on Customize Now and Click NEXT and Select your required packages and then click Next.

Step:29-Installation has been started. Just get back and Relax for some time. It will take some time to get installed.

Step:30-Congratulations Guys….. Your RHEL 6 is installed…….

Step:31-Grub Screen of Red Hat Enterprise Linux 6 Beta ( RHEL 6)

Step:32-Wait…………. RHEL 6 Beta is Loading………………………

Step:33-First Boot Instructions…. Just Few Steps and That’s It.
Step:34-This is the Welcome Message click on Forward

Step:35-Select Yes, I agree to the License Agreement and Click on Forward

Step:36-If you have RHN Login then Select Yes Otherwise Select No, I prefer to register at a later time and click on Forward.

Step:37-Create Normal User and Click Forward

Step:38-Set your Date & Time Here.

Step:39-Enable Kdump if you want to configure otherwise Click on Forward, That’s It.

Step:40-Now It’s your RHEL 6 is installed and running.
1 comment:
Casino of Vegas, NV - MapYRO
A map 평택 출장안마 showing Casino 밀양 출장마사지 of Vegas, NV. View map of 성남 출장샵 casinos and other gaming 부산광역 출장안마 facilities located in Las Vegas, NV. Rating: 3.6 동두천 출장샵 · 10 votes
Post a Comment